This Design Challenge empowers students to take action as they work to develop innovative solutions for their communities. Students are guided through the entire Design Thinking process on our new digital platform. The Challenge is delivered by a trained educator. BUILD provides all training and materials for students and schools.
The content was created to empower students nationwide and give them a sense of self-agency. They explore stories of diverse people living in our communities then work collaboratively in teams to propose innovative solutions.
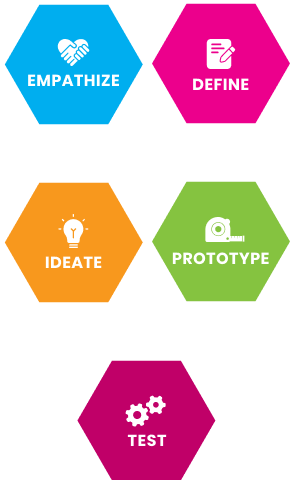
The design thinking journey takes students through the following process:
Empathize – Walk in a client’s shoes and document the experience
Define – State your client’s needs and problems
Ideate – Dream up solutions to your client’s challenges
Prototype – Create a model of your solution
Test – Try your solution with others
Pitch – Present your idea for potential cash prizes and bragging rights
What technology and equipment does my school need to run a BUILD'S Design Challenge?
Students will need a computer or mobile device that has internet access
This experience will use the following sites/platforms: BUILD.org, Google Docs, Padlet, YouTube, Vimeo, EditMate
For distance learning, you can use any video platform you like for the Challenge – Zoom, GoToMeetings, etc.
Who can run a BUILD Design Challenge?
BUILD’s Design Challenge can be delivered in as little as 10 hours or be used as a launch pad for additional lessons and curricula that can span an entire semester.
Educator training commitment is a minimum of 2 hours.
When can I start?
Today, tomorrow or whenever you are ready! The course is online and therefore you can start on a rolling basis. Teachers or facilitators are invited to complete a 2-hour training. This training is required so you understand the flow, best practices and how to ensure students feel safe, excited and ready to dive into the challenge.
1. iPhone, iPad, Zoom and Loom are all choices of recording tools for their video presentation
2. Record with both students and their presentation in view
3. Record horizontally for the best view of the students and their presentation
4. Follow Presentation Diagram to the Right
PRESENTATION TIPS.
- Make eye contact with the camera
- Notecards may be used as cue cards
•Pro Tip: Notecards should avoid having a full script
- Even when you are not speaking, don’t forget the camera is still recording!
•Be aware of your body language while you and your business partners are speaking
- Everyone has an opportunity to speak
- Professional dress is encouraged
- Practice makes perfect
•Practice how you will transition from each speaker
•Project your voice when you speak
Follow positioning format Above
Download a Sample of Our Curriculum
Fill out this form to receive a free sample of our curriculum and to receive occasional email updates on how to bring BUILD to your community.